

The neon tubes get all the attention, but the small parts behind the sign decide how easy it is to live with: the power supply, the dimmer and the remote. Here is what each one does, which one you need, and what to do if you lose or replace a part.
The power supply (adapter)
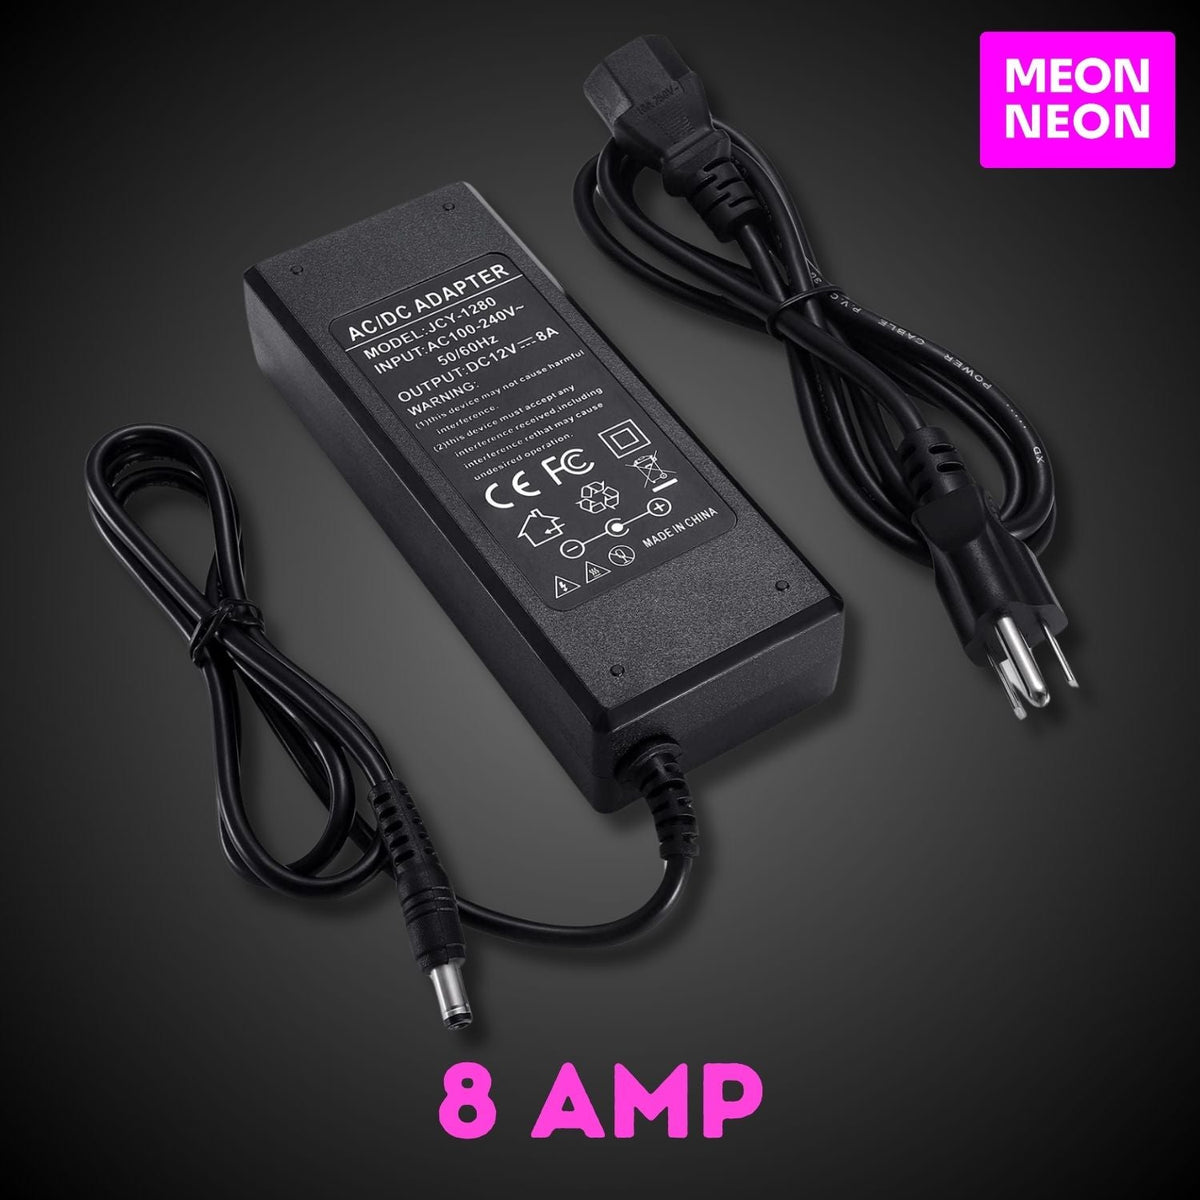
Our standard LED neon signs run on 12V DC power. The power supply is the adapter that plugs into your wall outlet and converts household power into the low-voltage power the sign uses.
Power supplies are rated by amps (or watts). A bigger sign with more LED tubing needs more power, so it needs a higher-amp adapter. That is why our replacement adapters come in several sizes:
How to pick a replacement
- Check the label on your original adapter for the voltage (V) and amps (A).
- Choose the same voltage, 12V for our standard signs.
- Choose the same amps or higher. A higher-amp adapter is fine; a lower one can make the sign dim, flicker or overheat the adapter.
Lost the original and not sure? Send us your order number or a photo of the sign and we will tell you exactly which one to order.
The dimmer
A dimmer lets you turn the brightness down. This matters more than people expect:
- A sign that looks perfect in a bright shop can feel too strong in a dark bedroom at night.
- Dimming a business sign after close keeps the window glowing without glare.
- Photographers and event planners dim signs so they do not wash out in photos.
Two options:
- Manual dimmer controller: an inline knob on the cable. Simple and reliable if the cable is within reach.
- Remote dimming: control brightness from across the room (see below).
Planning to use a wall dimmer switch? Most standard household dimmer switches are not designed for 12V LED adapters. Read our dimmer compatibility guide before wiring anything into the wall.
The remote and receiver
A remote kit has a small receiver that sits inline on the power cable, plus a handheld remote. Every custom Meon Neon sign includes a remote with dimming. For replacements and upgrades:
- Remote and receiver bundle: on, off and dimming for single-color signs.
- Special effects edition: adds flashing and fading modes, popular for bars and events.
- RGB model: for color-changing signs, so you can pick colors and modes.
- Individually addressable model: for animated signs where different sections light up in sequence. See Flow-LED animation neon.
Match the remote to the type of sign you have. A single-color remote will not run an RGB sign, and the reverse.
Extension cables and connectors
Outlet a little too far away? Instead of cutting the cable, use a 12V DC extension cable made for LED lighting. For tidy installs, our male/female DC connector cables make it easy to join parts. Our remote and wiring guide shows how everything connects.
Timers and smart plugs
For businesses, a simple outlet timer turns your "Open" sign on at opening and off at close. At home, a smart plug lets you control the sign by voice or app, or set it to come on at sunset. Plug the sign's adapter into the smart plug, and the plug into the wall.
Troubleshooting in 60 seconds
- Sign will not turn on: check every connection is pushed in fully, try a different outlet, and press the "on" button on the remote. Replace the remote battery.
- Sign is dim or flickering: usually a loose connection or an undersized adapter. Reseat each connector and confirm the adapter's amp rating.
- Remote does nothing: point it at the receiver, replace the battery, and make sure nothing is blocking the receiver.
- Still stuck? Our signs come with a 2-year warranty. Contact us with a short video and we will sort it out.
Shop all LED neon parts and hardware, or see how to mount everything neatly in our installation guide.


